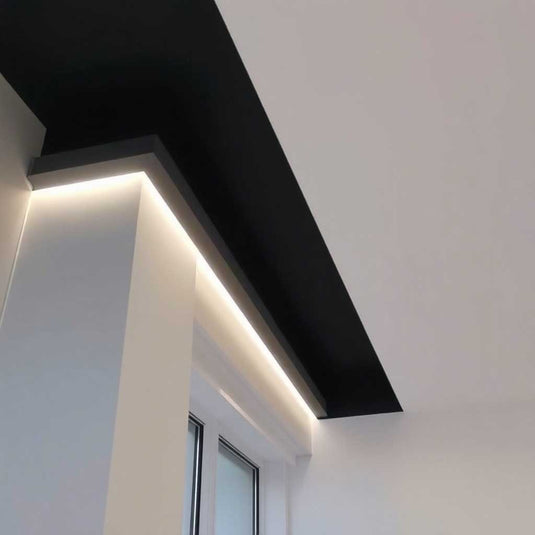
Transform your room by adding a touch of elegance with coving. This guide provides step-by-step instructions for DIY enthusiasts looking to enhance their home's aesthetic appeal. No special skills are required, so let's get started.
Tools and Materials
Before we begin, ensure you have the following tools and materials on hand:
- covings
- Mitre box / Mitre saw (manual or electric)
- Saw or snap-off knife
- Solvent-free adhesive
- Poly-filla (for filling joints)
- Measuring tape
- Pencil
- Fine-grade sandpaper
Preparation
- Measure Your Room: Accurately measure the length of the walls where the coving will be installed. This will help you determine how many lengths of coving you'll need. Each length is supplied in 2 metres long piece.
- Clean the Walls: Ensure the area where the coving will be installed is clean and free from dust, grease, or loose paint. This will help the adhesive bond effectively.
Cutting the Coving
- Measure and Mark: Measure the length needed and mark your coving accurately with a pencil.
- Cutting Straight Lengths: Use your mitre box and saw or snap-off knife to cut the coving to the required lengths. For straight cuts, ensure the coving is securely positioned in the mitre box.
- Cutting Corners: When cutting coving for corners, use the mitre box to achieve precise angles. Remember, internal and external corners will require different angles.
Installing the Coving
- Dry Fit First: Always dry fit your coving pieces to ensure a perfect fit before applying any adhesive.
- Apply Adhesive: Apply a generous amount of solvent-free adhesive to the back of the coving. Focus on the edges that will be in contact with the wall and ceiling.
- Position the Coving: Carefully press the coving into place, starting from one end and working your way to the other. Ensure it is aligned correctly with your marked lines.
- Secure the Coving: Press firmly along the entire length of the coving to ensure strong adhesion. Wipe away any excess adhesive with a damp cloth.
Finishing Touches
- Filling the Joints: Use Poly-filla to fill any gaps at the joints between coving lengths. This will create a seamless appearance. Allow the filler to dry as per the manufacturer's instructions.
- Sanding: Once the filler is completely dry, lightly sand the joints for a smooth finish.
- Painting: Polystyrene coving can be painted to match or complement your room's decor. Use a paint suitable for polystyrene (any water-based good quality paint) and apply it gently to avoid damaging the material. Use a regular brush or paint roller (depending on coving shape). You can also use a paint spray gun.
Maintenance
Polystyrene coving is easy to maintain. Dust it occasionally to keep it looking fresh. For painted coving, touch up the paint as needed.


